|
|||||||||||||||||||||||||||||||||||||||||||||||||||||||||||||||
 |
|
|||
|
|||
|
|
|||
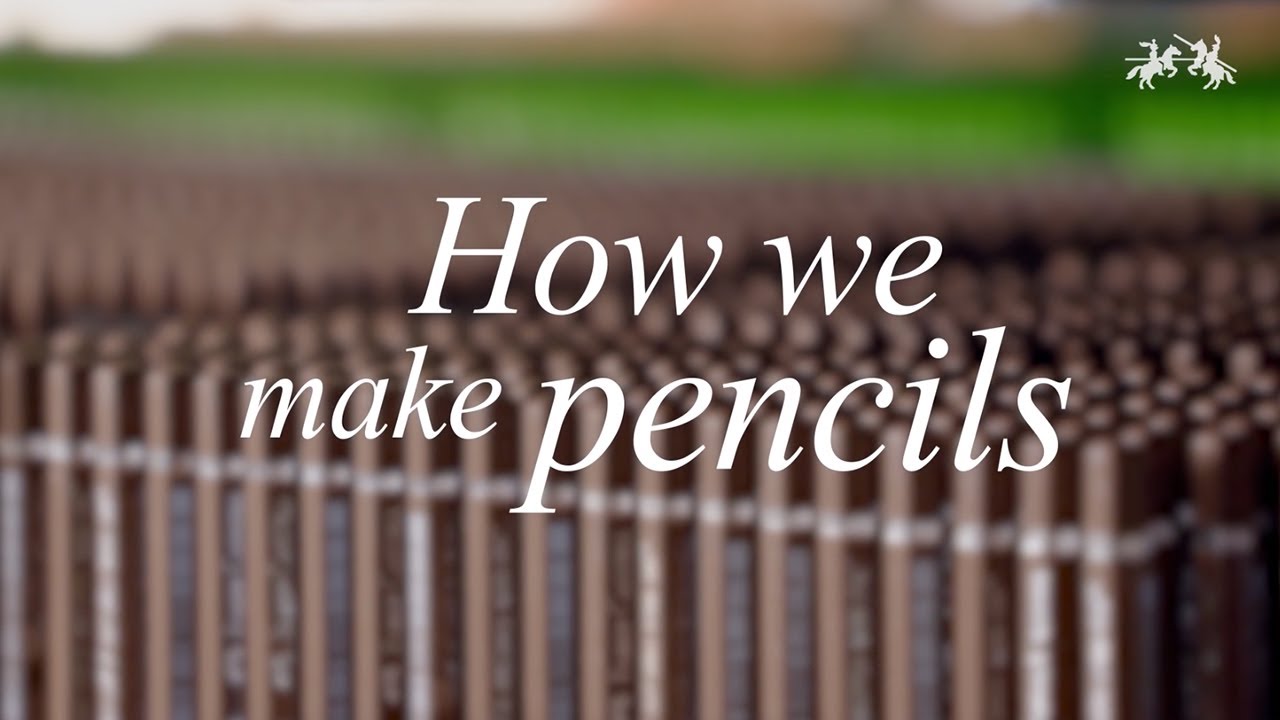
Producing 2.3 billion pencils a year and being in the business for over 257 years, Faber-Castell has a sound know-how of how quality pencils are made. Have a look behind the scenes of our manufacturing. There are 14 steps to the process of making pencils: Pressing and drying the leads - The soft graphite mixture is extruded through a nozzle to form long strings. These are cut to length and dried in perforated tins. The cylindrical baskets turn during the drying process preventing the leads from sticking together. Wax bath - To enhance the writing experience, the leads are immersed in a bath of liquid wax to allow for a smooth colour lay down on paper. We could listen to that bubbling sound for ages. Milling the grooves and applying glue - Have you ever wondered how the lead gets into the pencil? It’s not by drilling a hole into a piece of wood 😉 Grooves are milled into two slats of wood and to make the lead break resistant, glue is applied evenly over the entire length. Inserting the leads - Closing the slat sandwich - With more than one half of the pencil ready, it just needs another slat on top to achieve a proper pencil sandwich. The drying wheel - With the leads all glued into the slat and the sandwich closed, our raw pencils head for the next step in the production process: the drying wheel. A whole bunch of sandwiches are pressed together and dried for roughly an hour, making sure that the wood does not split when the pencil is ready for our next step. Milling the pencils - Getting into shape. Classic round, hexagonal or grip friendly triangular, from regular to jumbo sizes. The milling process takes care of the desired pencil format. Painting the pencils - Colors! Our Polychromos and Albrecht Dürer watercolor pencils are available in more than 120 different shades. And if you are looking for a specific color, it is quite helpful to see on the outside what’s inside. 😉 Definitely the most colorful part of the production. Stamping the pencils – gold foil - From classic black to glittering gold: As one of the companies with the oldest trademark, our products can be recognised by the fighting knights and the Faber-Castell logo. Dipping the pencils - Have you ever had a close look at the end of your pencils? When the Polychromos hit the markets 111 years ago, the pencil’s caps had not been painted. Today caps are colored in different styles and shades. From the golden ring that adorns the Castell 9000 to the colorful tops of our Creative Studio pencils. Watch out for the little details that make a pencil special. The drying room - Pencils over pencils over pencils. A pencil lover’s paradise is the drying room. And like a colorful flower border this department changes its color from day to day, depending on the hundreds of pencils that are waiting for to be sharpened. Sharpening the pencils - As beautiful as the sound of hearty sharpening is, unfortunately we wouldn’t get far with it. Nothing for the ear, but definitely attractive for the eye is our automated sharpening process: pencils gliding over rotating sandpaper. Sheer beauty to watch. Visual control - Absolutely stunning to see the speed at which our employees spot the tiniest fault in the produced pencils. Did you know that their keen eye works better than any machine? Packaging - The final step is packaging the pencils in boxes and tins. |
|||
 |
|||
|